When you buy a new home, it usually comes with a standard one-year warranty from the builder. However, many homebuyers forget that their warranty expires after just a single year or believe that any defects were caught during the pre-purchase home inspection. The problem here is that issues can develop during the first year of ownership that wasn’t noticeable before the purchase, and if you do not catch and correct them early, you will be responsible for the costs.
The good news is that a new home warranty inspection can help ensure that you’re able to spot problems before the warranty expires and have the builder cover the cost of rectifying the issues. Of course, there’s a very good chance that you’re unfamiliar with new home inspections and how they work. In this post, we will explore the average 11-month warranty inspection process.
What Do New Home Warranty Inspections Generally Find?
Before we dive into the new home warranty inspection process, it’s helpful to understand the most common problems identified. We’ve included a brief list below.
- Missing insulation in the attic
- Leaking plumbing
- Blocked sewer lines
- Cracks in stucco
- Damage to cabinetry
- Improper roof vent installation
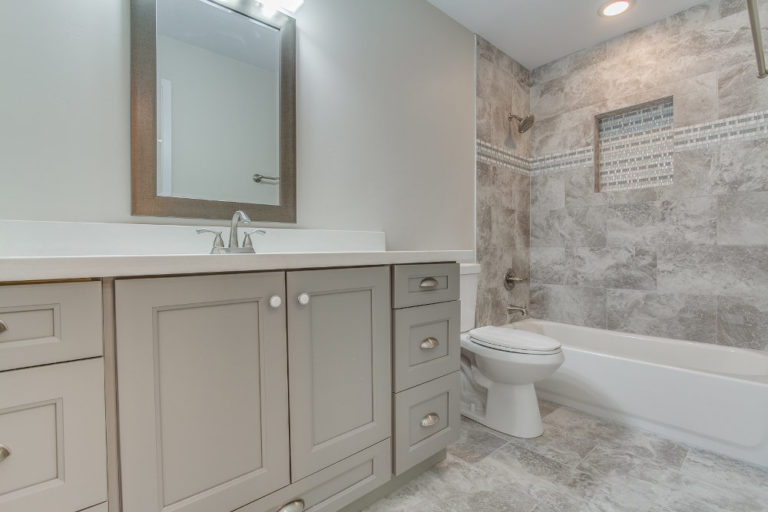
- Loose toilets
- Missing tile grout
- Damage to appliances
- Damaged roof shingles
- Improper dryer vent installation
- Cracks in the foundation
Some of the issues above are pretty minor and can be rectified easily. However, others will require in-depth remediation and can cost quite a lot. It’s always better to have the builder fix their mistakes than to be on the hook for those repairs yourself.
Exploring the New Home Warranty Process
Every new home warranty inspection is slightly different, but they will all include the same elements. We’ve broken the process down into three separate stages – before, during, and after.
Before the Inspection
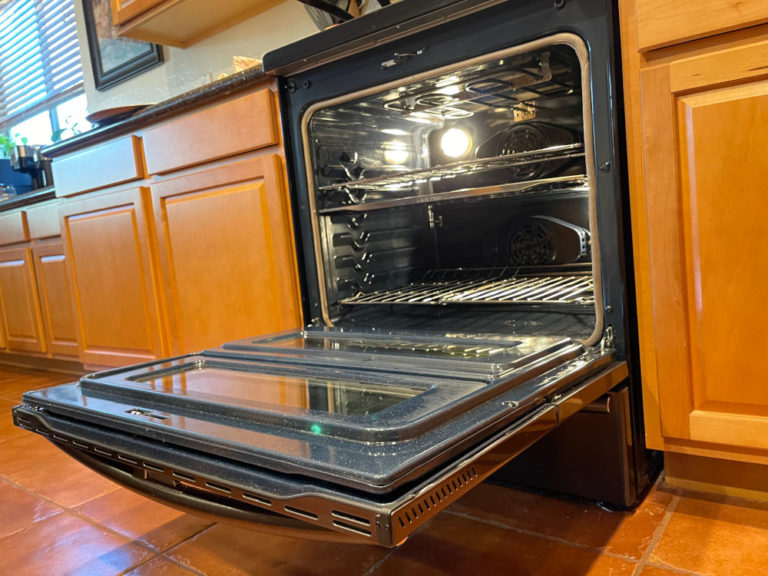
Before having a new home warranty inspection, it’s important to prep your home. You don’t need to do a lot, but some important steps shouldn’t be skipped. First, make sure that all of your appliances can be easily accessed. This includes your oven/range, water heater, furnace, and AC, as well as many others.
Next, make sure that your home is clean. Take the time to remove clutter that might impede the inspection or block views of important areas. Double-check that all your ceiling fans and lights are working.
Finally, open your fuse box. Make sure that all the breakers are clearly labeled. If they aren’t, identify what they control and write it on the label so that the inspector can easily see it.
During the Inspection
The big day has finally arrived. Your home inspector will show up at your home at the time indicated, and they should immediately get to work. Some inspectors prefer to start with the exterior, while others may prefer to begin indoors. Either way, they will inspect the following:
- Appliances – Your inspector should check your major appliances (furnace, AC, water heater, etc.) for operation, as well as for signs of improper installation or any damage that might have occurred. For instance, improper dryer vent installation is a common problem spotted, as are poorly draining air conditioners.
- Flooring and Walls – The floors and walls of your home should be inspected for gaps, warping, sloping, and other problems that need to be remedied.
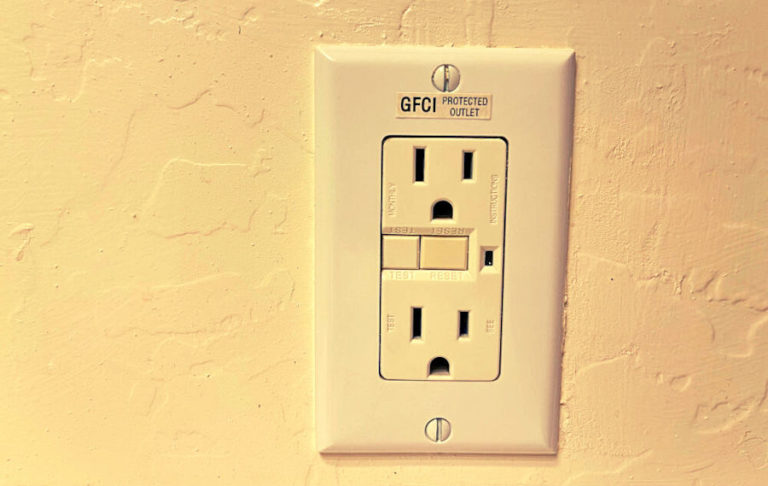
- Lights and Electrical – Your inspector should check the lights, switches, and outlets throughout your home, as well as the fuse box and breakers.
- Plumbing – The inspector should check your plumbing for signs of leaks, improper installation, and other problems.
- Tile – Cracking or missing grout, damaged tiles, and other elements should be identified in the bathrooms and kitchen.
- Foundation – Your home’s foundation should be thoroughly inspected for signs of drainage problems, cracking, and subsidence.
- Roof – The roof must be inspected for damage and improper installation, but this can be challenging. Make sure that your inspector uses a modern drone to inspect the roof closely.
- Sewer – Your home’s connection to the sewer system should also be inspected for damage from tree roots, as well as blockages and other problems.
After the Inspection
Once the inspection concludes, you’ll be given a detailed report. This report should identify all the problems noticed within the home and include a detailed description of the issue. Ideally, the report should be accompanied by photographs and video of the areas.
Once you have the report in hand, you can give it to your builder and expect those issues to be repaired. Note that your inspector should be able to differentiate between items covered by the builder’s warranty and wear-and-tear-related damage incurred through simply living in the home. Only covered items will be repaired, and the inspector should explain this to you in the beginning.
Is It Time for Your New Home Warranty Inspection?
Is your builder’s warranty about to expire? In most cases, you have only a year or two of protection. Once that period ends, you’re on your own when it comes to repairing damage and replacing improperly installed or failed features and appliances. It’s critical to have a new home warranty inspection before the warranty expires.
At Kei Home Inspections, we pride ourselves on our thoroughness, as well as our detailed inspection reports and use of modern technology. We use advanced drones to closely inspect every part of your roof and sewer scopes to capture real-time video of your home’s sewer connection and any damage to these areas. We also back every home inspection we conduct with a full 120-day warranty.
Contact us today to learn more about our 11-month warranty inspection, what it covers, and how we can help ensure that you’re not on the hook for repairs that the builder should have handled.